40-150 #3


Home Up Antenna Rotating Antenna Philco 20 Model 45 90 37-61 Philco 39-30 40-150 40-150 #2 40-150 #3 40-180 40-190 41-221 41-290 42-350 46-421 48-1256 Service Bulletins


40-150 table model

IMG-20120116-00466.jpg (178768 bytes)

Back at home.

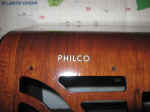
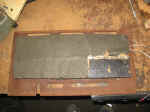
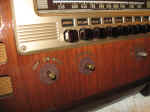
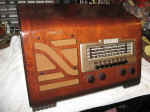
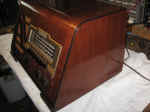
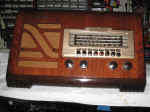
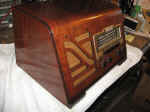
This 40-150 from the our nations capitol in for restoration.  WBAL was one of the bush buttons on the bezel.  I bet some one listened to the events of December 7, 1941 on this very radio.  

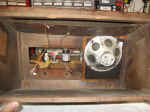
When opened up a permanent magnet speaker was found.  The field coil of the original speaker has been epoxied to the power transformer cover.  This is a creative solution to a speaker failure.  This will be cleaned up and replaced with a resistor to make the pie filter and increased filter capacitance.  The speaker grill cloth has been replaces with fiberglass door screen material.  Although not original is served well in keeping little curious fingers at bay.  That will be replace with some original replica cloth.  

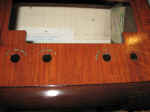
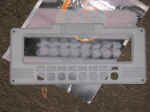
The cabinet has been refinished and looks fantastic.  Control and LOGO decals will be applied and over coated with another clear lacquer coating.  And of course, brand new reproduction wine colored transparent push buttons.  


I will be adding pictures of the chassis repair once it is on the bench.

IMG_5572.JPG (186973 bytes)

As delivered.

IMG_5573.JPG (162962 bytes)

IMG_5574.JPG (180327 bytes)

IMG_5575.JPG (195258 bytes)

IMG_5577.JPG (155546 bytes)

Interesting!

IMG_5578.JPG (165791 bytes)

That is a PM speaker with the old field coil glued to the chassis. 

IMG_5580.JPG (180410 bytes)

Some work done. 

IMG_5581.JPG (190040 bytes)

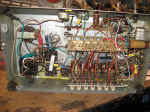
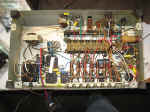
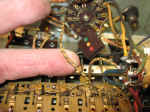
There are a lot of deteriorated wire insulation.  It will be replaced.

The radio did play.  I am surprised there were not spectacular releases of EMF with all that bad insulation. 

IMG_5596.JPG (179366 bytes)

The replacement PM speaker and baffle

IMG_5597.JPG (225788 bytes)

Grill cloth. 

IMG_5598.JPG (160052 bytes)

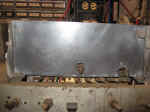
Strip down for refinishing. This metal will be stripped primed and painted.  

IMG_5741.JPG (158832 bytes)

REFINISHED!*

IMG_5742.JPG (142950 bytes)

Gorgeous.

IMG_5743.JPG (158610 bytes)

IMG_5745.JPG (162269 bytes)

IMG_5746.JPG (167610 bytes)

IMG_5747.JPG (157984 bytes)

This will look fantastic with all the new cloth and buttons. 


Under progress.

IMG_5812.JPG (212909 bytes)

Pre pics

IMG_5814.JPG (177717 bytes)

Wires to be replaced

IMG_5822.JPG (1161465 bytes)

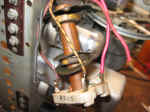
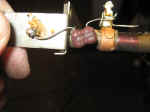
Replace wires in the IF transformer

IMG_5823.JPG (1399822 bytes)

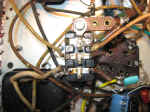
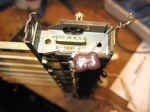
RF filter caps

IMG_5824.JPG (1564232 bytes)

Gutted and replaced filter caps. 

IMG_5825.JPG (1713853 bytes)

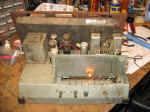
Almost done replacing parts and wires. 

IMG_5827.JPG (986613 bytes)

The first 370pf cap

IMG_5828.JPG (1064797 bytes)

Replaced 370pf with selected caps close to 370 pf. 

IMG_5830.JPG (1471541 bytes)

I always replace these ceramic/mica 370pf caps. They throw off the dial scale. 

IMG_5831.JPG (1493333 bytes)

There is a radio station being received.  You can believe me.....

IMG_5832.JPG (1548529 bytes)

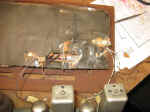
Internal antenna attention needed.

IMG_5833.JPG (1790648 bytes)

The large white rectangle resistor (lower left) replaces the old speaker field coil that was glued on the power transformer cover. 

IMG_5819.JPG (1188370 bytes)

A resistor and wires needing attention in this IF transformer. 

IMG_5836.JPG (1370151 bytes)

New Decals.....

IMG_5835.JPG (1221888 bytes)\

and a clear overcoat of lacquer

IMG_5834.JPG (1431053 bytes) IMG_5908.JPG (1083638 bytes)

before.

IMG_5910.JPG (921428 bytes)

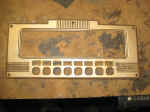
Strip, sand, prime and paint.  

IMG_5919.JPG (671585 bytes)

Clean and buff on wheel. 

IMG_5911.JPG (823251 bytes)

Polish reflector. 

IMG_5913.JPG (933540 bytes)

Repaired antenna.

IMG_5886.JPG (1295618 bytes)

Mr. Jingles was here. 

IMG_5887.JPG (1160308 bytes) IMG_5888.JPG (1351289 bytes)

Replaced antenna wires. 

IMG_5890.JPG (1095454 bytes) IMG_5891.JPG (976538 bytes)

Patch

IMG_5892.JPG (787631 bytes)

Paint. 

IMG_5893.JPG (1183708 bytes)

Not bad for inside the chassis. 

IMG_5914.JPG (1006403 bytes)

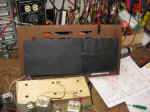
New baffle and bigger better sounding speaker. 

IMG_5915.JPG (1052389 bytes)

Installed with grill cloth. 

IMG_5916.JPG (1102675 bytes)

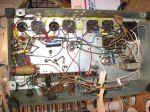
Restored under chassis. 

IMG_5917.JPG (975306 bytes) IMG_5918.JPG (993759 bytes)

Knob felt.

BEFORE 

IMG-20111010-00314.jpg (205741 bytes)

AFTER

IMG_5920.JPG (1075987 bytes)

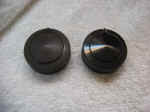
Completed with new Push buttons and grill cloth. 

IMG_5922.JPG (822263 bytes) IMG_5924.JPG (1052400 bytes) IMG_5926.JPG (1032270 bytes) IMG_5925.JPG (791959 bytes) IMG_5923.JPG (588625 bytes) IMG_5921.JPG (896009 bytes)  

* I have a friend that is doing most of my refinishing since late 2009.  Wood finishing has been his profession and he is much faster than me.  It takes Tom a fraction of the time to accomplish (strip, stain, color blend, repair, finish, etc) what takes me a week to do.  And he can do it all year long where I am dependant on proper weather conditions.   

Hit Counter

 Contact me including your thoughts and comments. 

Please see the LINKS page.  I have collected many resources over the years.

135,912 unique web site visitors (14,499,000 hits) from October 2004 through August 2011.

Copyright © 2004 - 2012. All rights reserved.