![]()
![]()
![]()
![]()
![]()
![]()
![]()
![]()
![]()
![]()
![]()
![]()
![]()
![]()
![]()
![]()
![]()
![]()
![]()
![]()
![]()
![]()
![]()
![]()
![]()
![]()
![]()
![]()
![]()
![]()
![]()
![]()
![]()
![]()
![]()
![]()
![]()
![]()
![]()
![]()
![]()
![]()
![]()
![]()
![]()
![]()
![]()
![]()
![]()
![]()
![]()
![]()
![]()
![]()
![]()
![]()
![]()
![]()
![]()
![]()
![]()
![]()
![]()
![]()
![]()
![]()
![]()
![]()
![]()
![]()
![]()
![]()
![]()
![]()
![]()
![]()
![]()
![]()
![]()
![]()
![]()
|
|
|
This radio is " The Companion" by Bulova, Model 249 Raw Hide, 247 Sun Tan or 246 Blue. It is a 4 tube AC/DC radio.
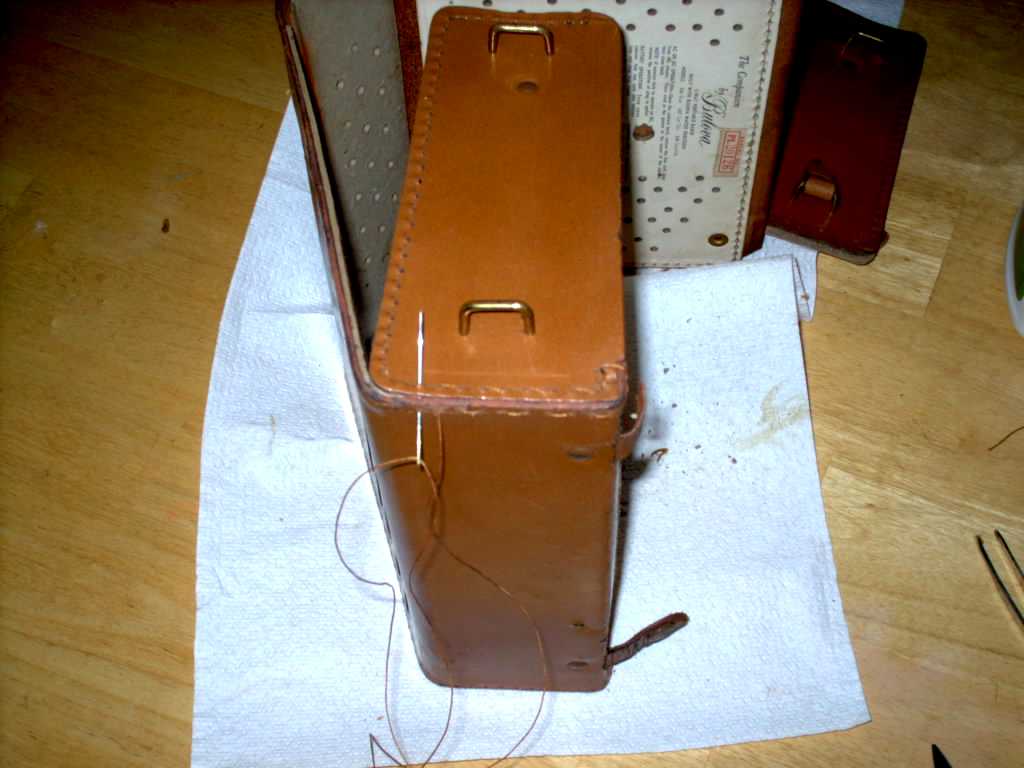
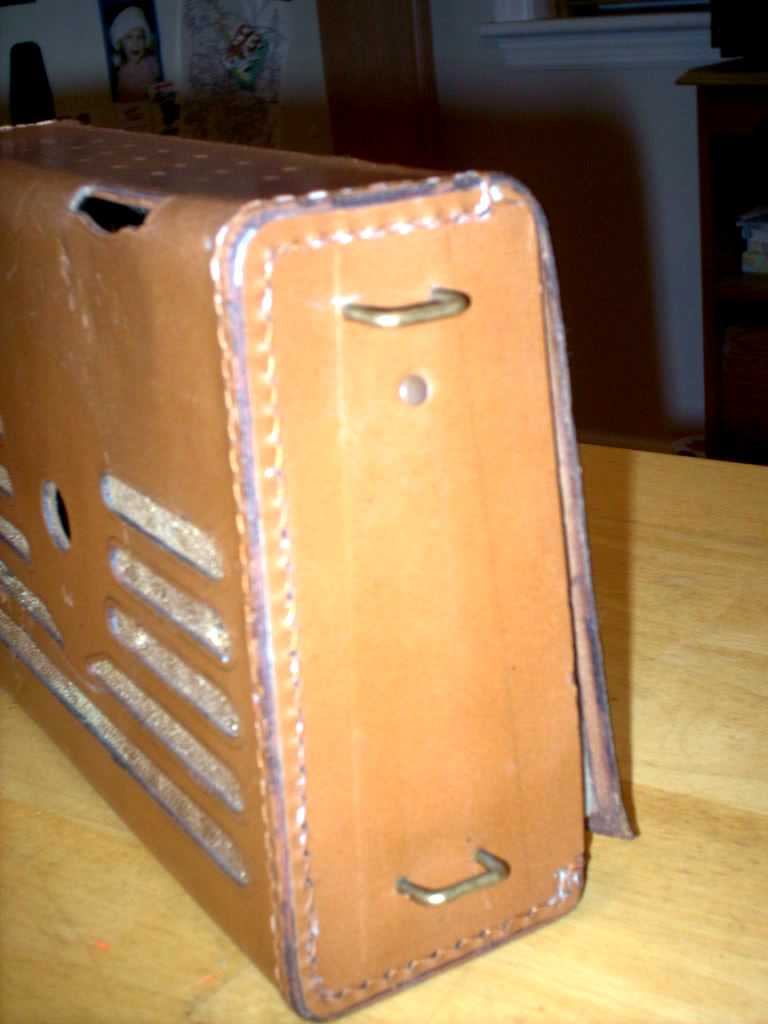
Case RepairBelow is detail of the leather case repair. The stitching had simply rotted away and turned to a dusty remain. Once the chassis was removed the stitches fell apart leaving both end pieces flapping.The first step was to clean and condition the leather so any work would not simply split brittle leather. Clorox Clean up worked great to remove the dirt and grime. It did not change any colors on the radio. Kiwi Leather Lotion for all colors, was used. The lotion was generously applied and allowed to soak in. The inside edge of the leather where the stitches poke through was also generously treated to lotion. The lotion also squished through the stitch holes. The leather then became quite soft.Next the old stitching was pulled out with tweezers. It removed easily since each stitch had broken when lightly pulled. The original stitching is an interlock stitch. That is where one thread (sting in this case) is pushed through with a needle and a shuttle is threaded through the loop. Then the thread is pulled back tight and the intersecting "X" (where each of the two threads cross) is centered between the leather panels. 1/8 inch cardboard is glued and riveted to the outer leather. The crossing point winds up in between the intersecting edges of the cardboard.The existing thread holes were used for the new string. The needle was used to search for the path of the original stitch. Two passes were made with the thread. The fist pass stitched every other span. The return path placed a stitch on the open span. I actually found sewing these two seems quite relaxing. Just be prepared with some pliers to push the needle through new leather. Only push through new leather if the original hole is torn. In this case it was only one hole at the rear, the first hole used to begin the run.Have a look at the pictures showing the repair of the case. Electronic restoration pictures and text will be added later. There was an interesting Aerovox brand Resonant capacitor that needed replacement. And is detailed in the electronics section.
A new rear cover snap/strap is needed and the leather carry strap. These will be repaired later. Pictures to follow.
Electronics Restoration
Below are just a few comments that were posted on the news:rec.antiques.radio+phone usenet group and the Antique Radio Forum. There is an Aerovox Resonant 0.1 uf resonant capacitor (resonalnt at 455Khz) between circuit common and chassis. I performed some tests to verify it's resonance and to better understand its function. But to no avail. It was eventually replaced with a UL rated Safety Cap of the same capacitance. With out the capacitor at all the radio experience "Birdies" all across the dial. With the original Resonant Cap some birdies were experienced high on the tuning band. See below test results:
A few theories on the resonant capacitor's purpose are discussed at http://antiqueradios.com/forums/Forum11/HTML/006043.html.Here is a detailed description of the capacitor and how it works: http://www.philcorepairbench.com/tips/svctip37.htm and http://www.philcorepairbench.com/tips/svctip37a.htm
The operation of the radio is quite acceptable and with out birdie once the new capacitor was installed, the rectifier replaced and the filament series string voltage adjusted with an added series resistor (just after the new 1N4004 silicon rectifier) to set the voltage at four (4) times 1.4 volts. The 1.4 volts is the specified voltage for all four tubes in the radio. The operation line voltage in my shop is ~117vac. The isolation transformer was set to 120 for final testing of the restoration.
|
Contact me including your thoughts and comments. 135,912 unique web site visitors (14,499,000 hits) from October 2004 through August 2011. Copyright © 2004 - 2012. All rights reserved.
|